Building your first app
An app is a single page application (SPA) consisting of HTML, CSS and Javascript files that we render in an iframe. The following is a demo that will teach you how to build your first Contentful app, as well as familiarize you with the underlying technology. While we use Glitch for this demo, it is recommended that you use a hosting solution for your SPA that suits your needs best.
Table of contents
Getting up and running
This tutorial is divided into two parts. In the first half, we will set up a basic app in your Contentful organization. The second half goes into detail about the implementation.
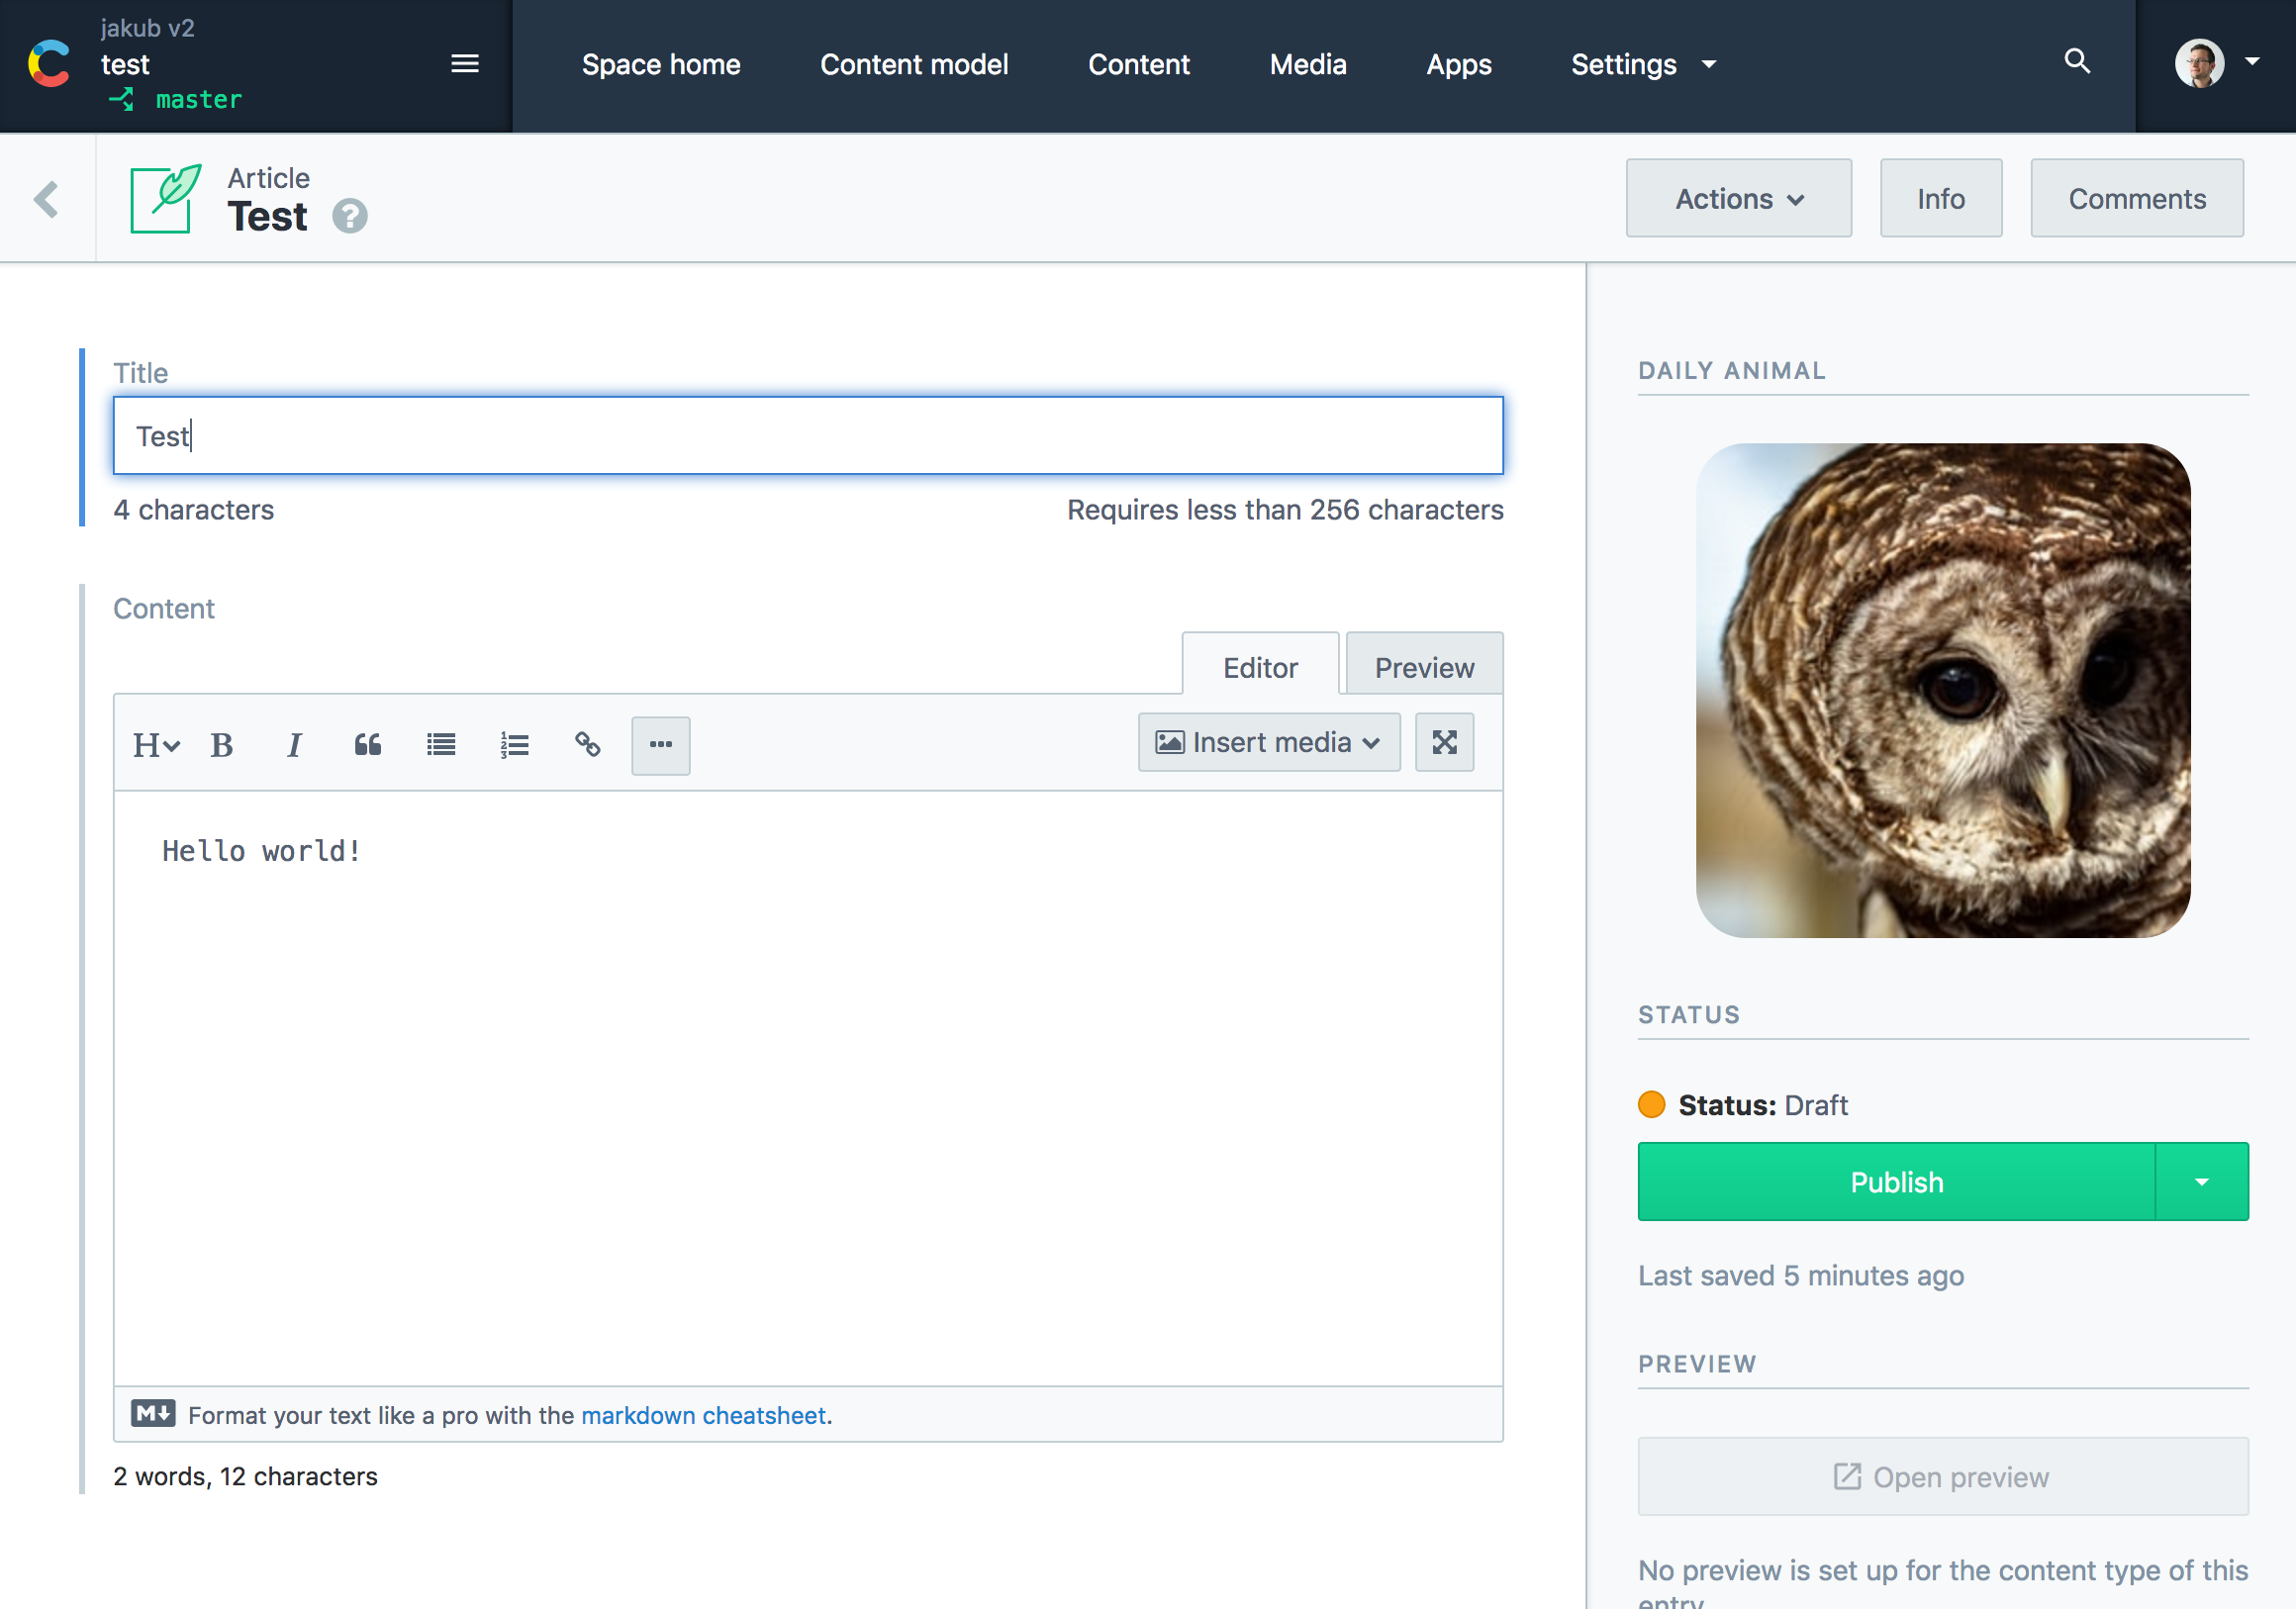
The demo app we're about to build is called "Daily Animal". It will display a random image of a selected animal in the entry editor and will introduce you to the capabilities of rendering an app that communicates with a third party service.
Clone and host the example app
The code of the example app is hosted on Glitch. To create your own copy, click on Remix to Edit in the window below:
Create the AppDefinition for your app
An AppDefinition is an entity type that stores all information about a single Contentful app on the organization level. To make an app available in your organization, you need to create a new AppDefinition entity. If you want to learn more about AppDefinitions read our documentation.
To get started on our example you'll need your Glitch URL. Select Share > Live App > copy in your remixed Glitch project to get your URL.
Once you have your Glitch project, you'll need to create the app definition. To do that, navigate to Organization settings and click the Apps tab. Click 'Create App' in the top right. You will see the app definition configuration screen.
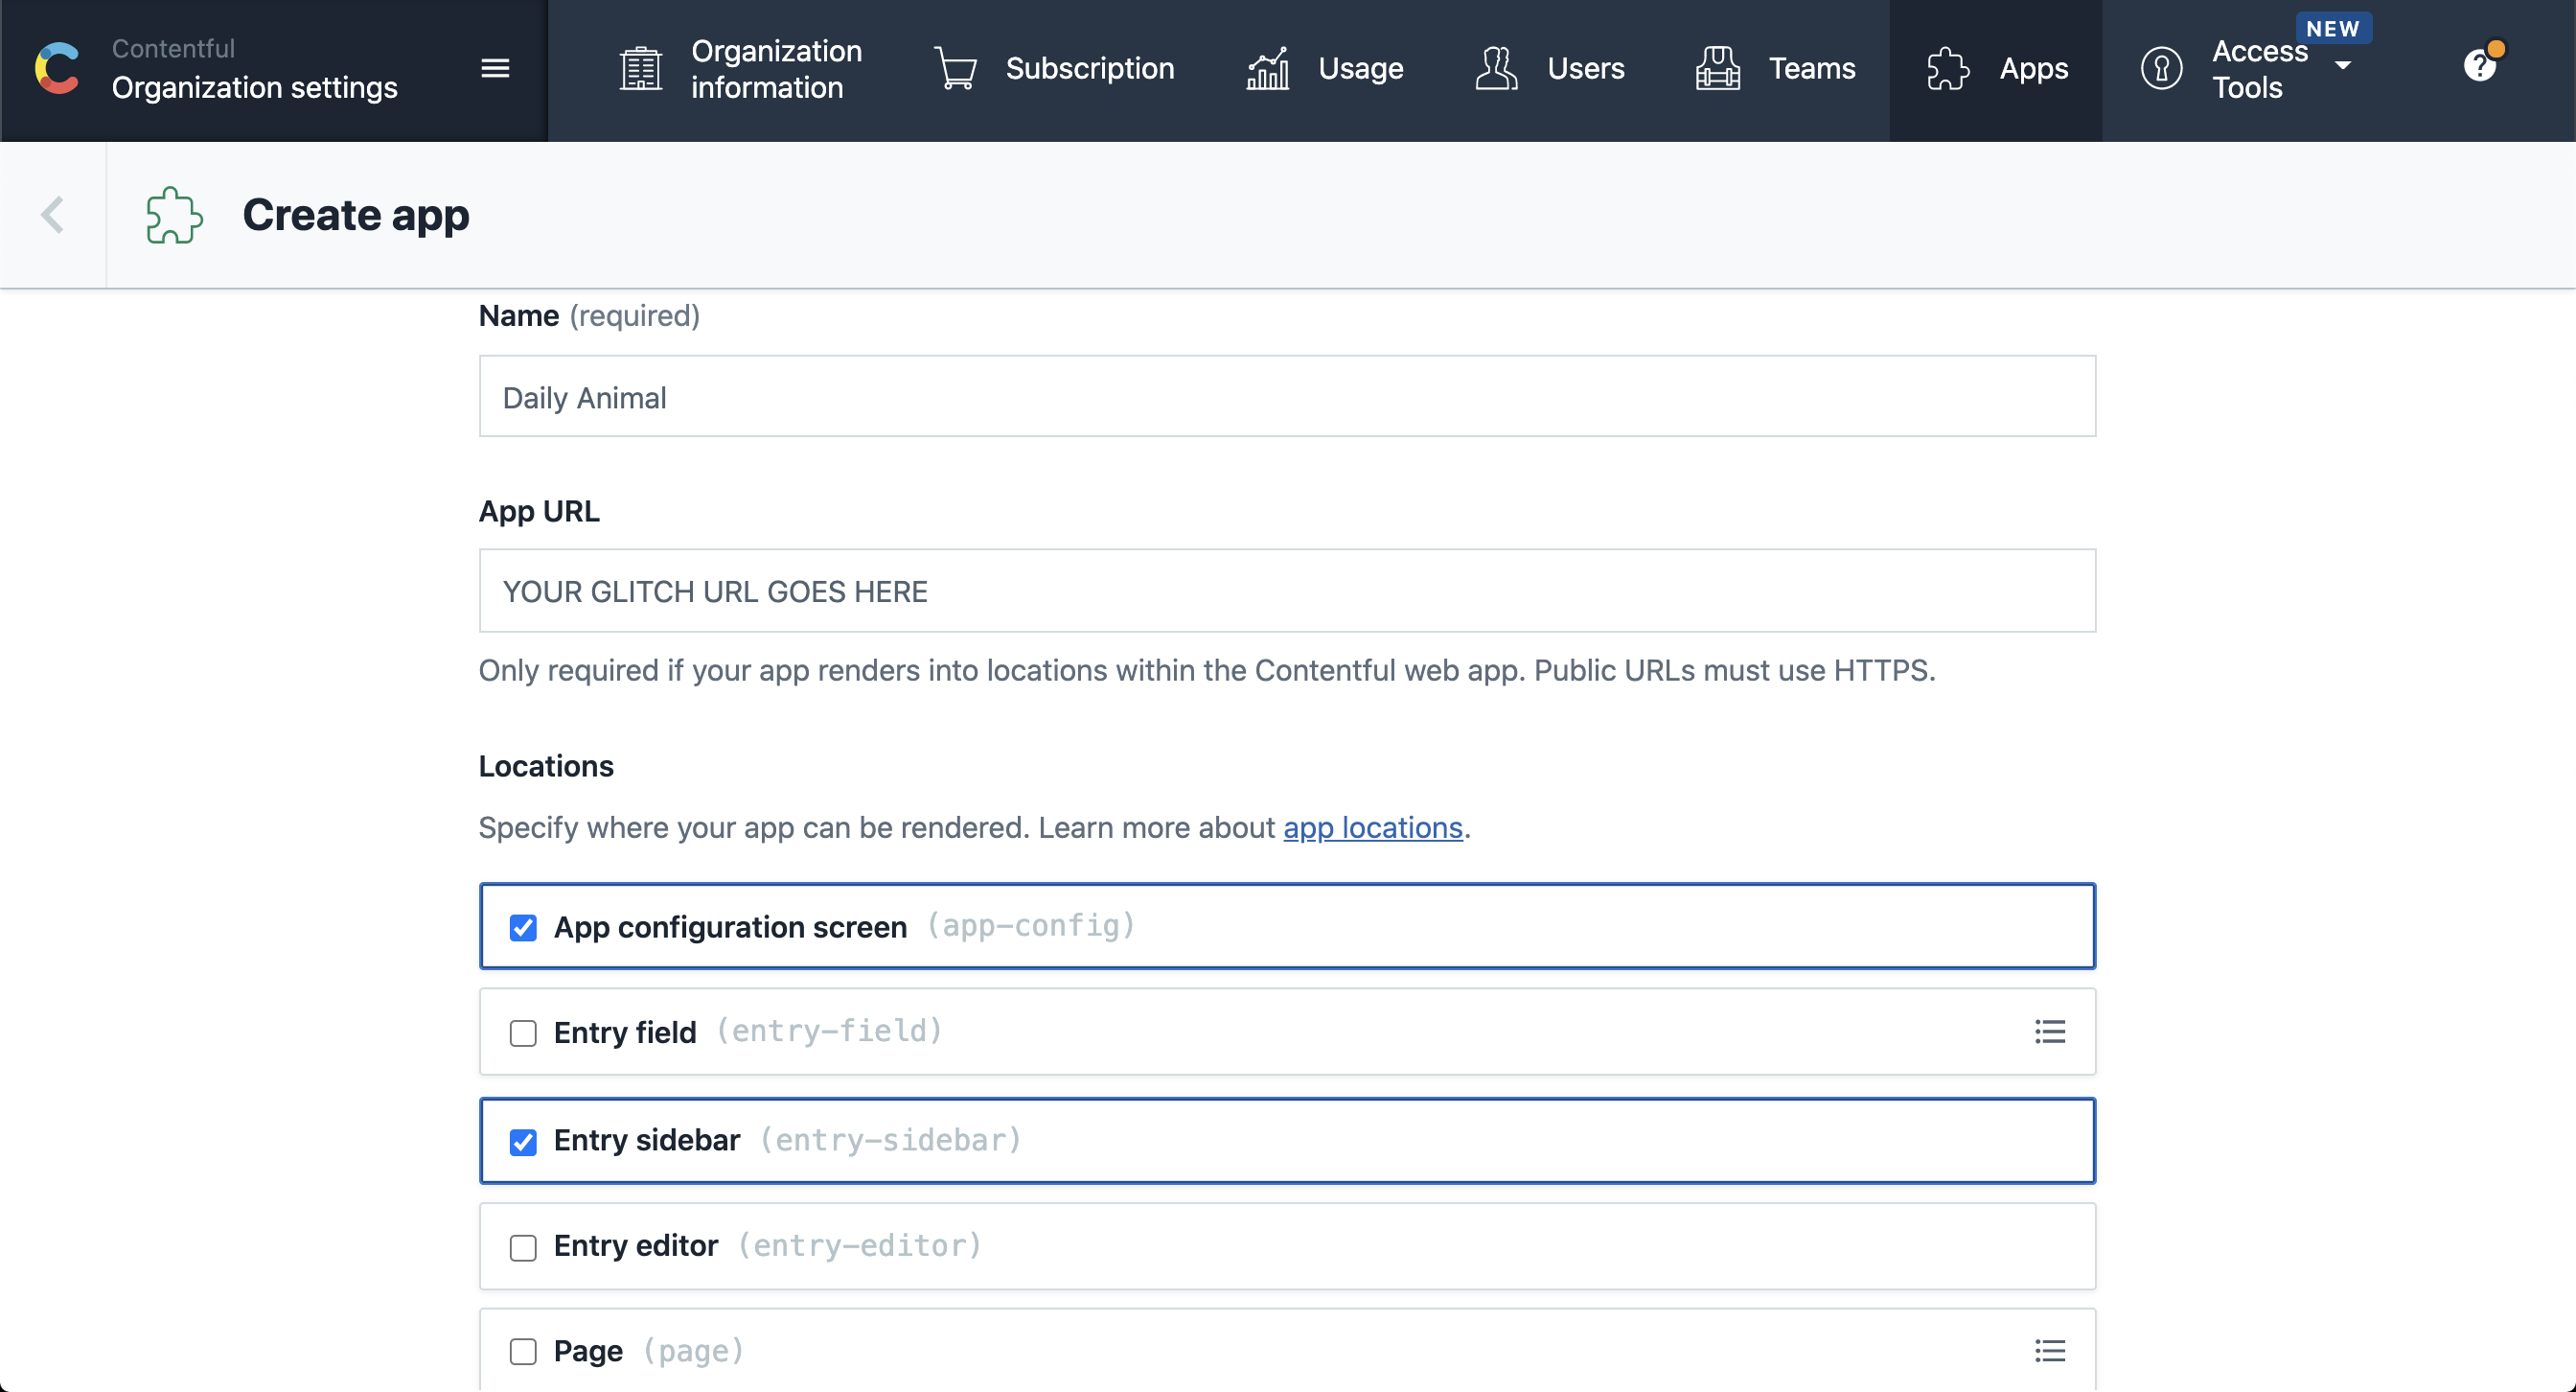
Here you will be asked to give a name for your app, as well as provide a URL to where your app is hosted. In our case, the example app is hosted on Glitch. Remember, apps are single page applications that can be hosted in any way you choose.
After supplying a name and URL, you will be asked to choose locations where your app will be rendered. In our case, the example app will be rendered on the configuration location and the entry sidebar location. (For more details, see our App location documentation on what the advantages of rendering your app in different locations are.)
Save your AppDefinition and return to the Contentful space you want to install this app in.
Use your app in the Contentful Web App
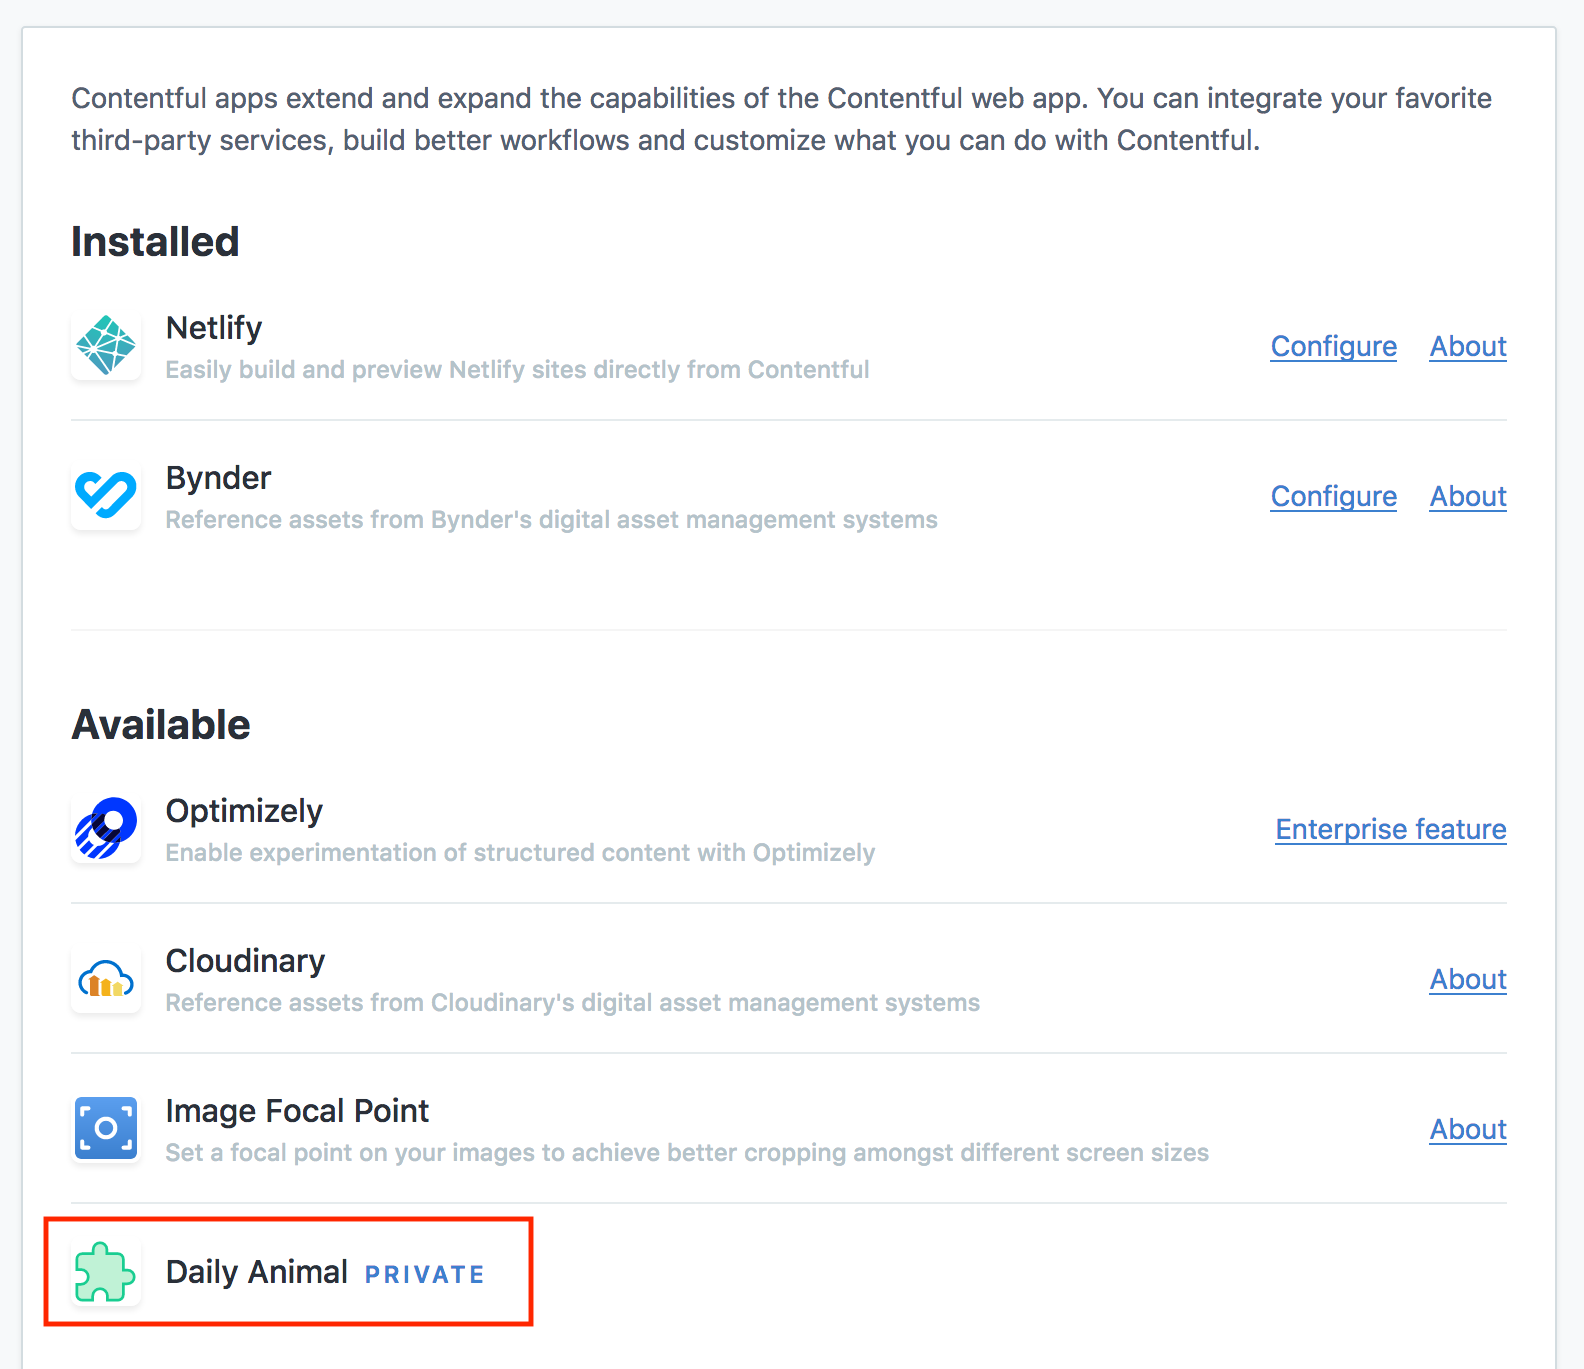
Navigate to the Apps view in the Contentful web app. Your app will be listed under the available apps and marked with a PRIVATE tag:
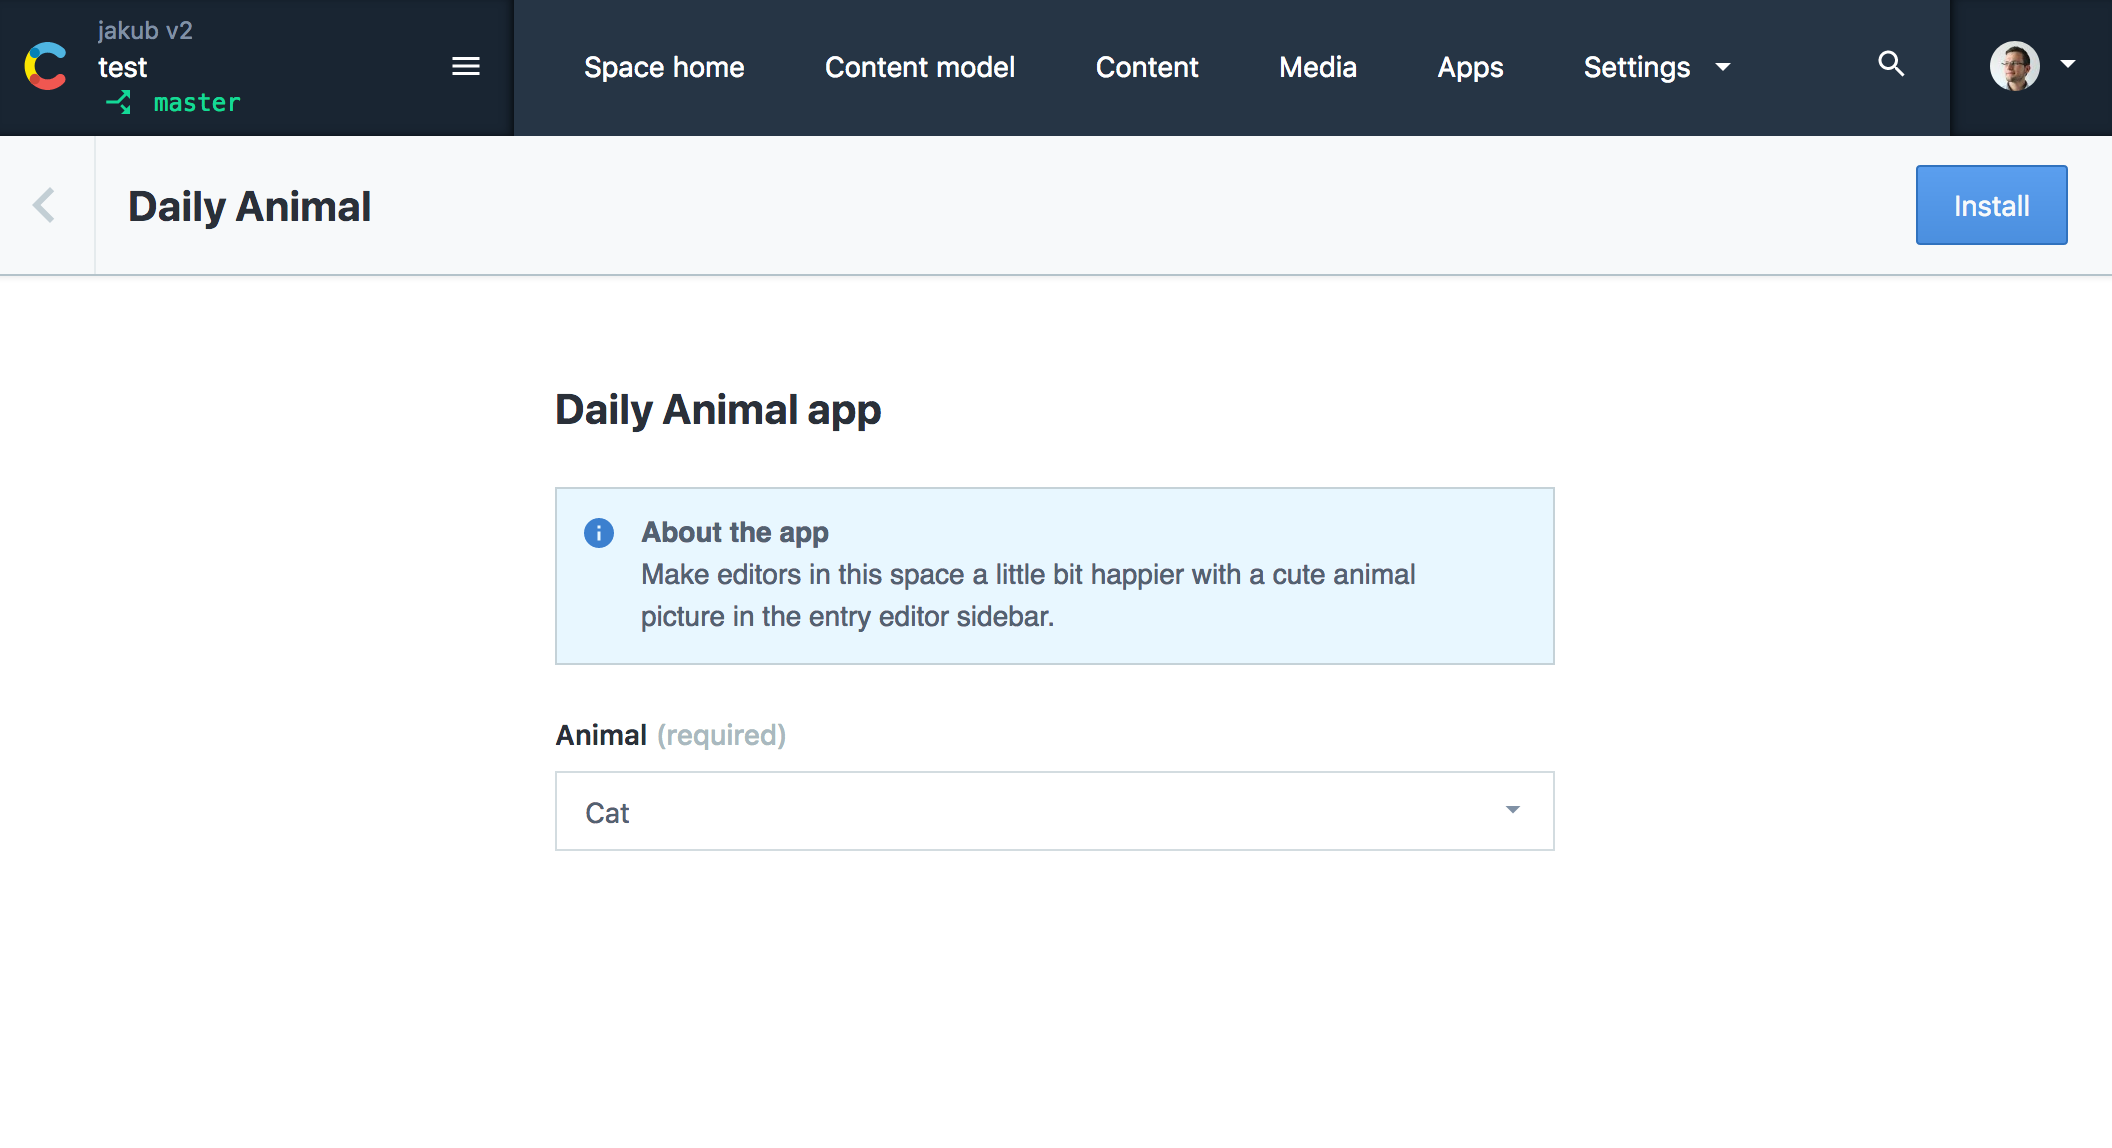
Select your app to open its configuration screen. Choose an animal and click "Install".
Voilà! Your app is now installed to your space and current environment! Head to an entry to see it in action.
Code breakdown
Let's analyze how the app is implemented by walking through sections of its code.
Libraries used
- React: we used React to render views of the app
- UI extensions SDK: because the app operates in the Contentful web app, we used the UI extensions SDK and all of the methods it offers
- Forma 36: to achieve the same look and feel of the Contentful web app, we used Forma 36, Contentful's design system
import React, { Component } from 'react';
import { render } from 'react-dom';

import { init, locations } from 'contentful-ui-extensions-sdk';
import '@contentful/forma-36-react-components/dist/styles.css';
import '@contentful/forma-36-fcss/dist/styles.css';
import {
  Heading,
  Note,
  Form,
  SelectField,
  Option,
} from '@contentful/forma-36-react-components';
Initialization and location detection
We use the init method of the UI extensions SDK to establish a connection between the Daily Animal app and the Contentful web app. Then, we check if the app is rendered in the apps view with sdk.location.is(locations.LOCATION_APP_CONFIG). If so, we use the Config component, which renders the configuration screen. If we are in another location, we use the AnimalPicture component which shows a picture.
init((sdk) => {
  const root = document.getElementById('root');

  // Select a component depending on a location in which the app is rendered.
  if (sdk.location.is(locations.LOCATION_APP_CONFIG)) {
    // Render the component, passing the SDK down.
    render(<Config sdk={sdk} />, root);
  } else {
    render(<AnimalPicture sdk={sdk} />, root);
    // Make sure there's always enough of space to render the animal picture.
    sdk.window.startAutoResizer();
  }
});
App configuration screen
Of the components making up the app, the Config component is the most complex one. It is responsible for rendering the configuration screen of the app, modifying its settings and handling the installation flow.
Two important notes about the app-config location:
- You must call
sdk.app.setReadywhen you are ready to display your app in the app configuration location. In the example below, this method is called after we have loaded some data asynchronously. Failing to call this method will result in your app not rendering! - You should provide a callback to
sdk.app.onConfigure. This callback will be invoked when the user has set their desired configuration and clicks the "Install/Save" button. This will allow you to validate and save installation parameters set by the user.
class Config extends Component {
  constructor(props) {
    super(props);
    this.state = { parameters: {}, error: false };
  }

  async componentDidMount() {
    // `onConfigure` allows to configure a callback to be
    // invoked when a user attempts to install the app or update
    // its configuration.
    this.props.sdk.app.onConfigure(() => this.onConfigure());

    // Get current parameters of the app.
    const parameters = await this.props.sdk.app.getParameters();

    this.setState(
      // If the app is not installed, `parameters` will be `null`.
      // We default to an empty object in this case.
      { parameters: parameters || {} },
      () => {
        // Once preparation has finished, call `setReady` to hide
        // the loading screen and present the app to a user.
        this.props.sdk.app.setReady();
      }
    );
  }

  // We are skipping the render example because it is basic React render code.
  render() { ... }

  // This method will be called when a user clicks on "Install"
  // or "Save" in the configuration screen.
  //
  // We want to do two things in here:
  // 1. Persist selected animal as a parameter
  // 2. Put the app to sidebars of all Content Types
  async onConfigure() {
    // Returning false will abort the installation or update.
    if (this.state.error) {
      // You can optionally trigger error handling before returning false
      this.sdk.notify.error('There was an error!');
      return false;
    }

    // The return value of `onConfigure` is used to install
    // or update the configuration.
    return {
      // Parameters to be persisted as the app configuration.
      parameters: this.state.parameters,
      // Transformation of an environment performed in the
      // installation process.
      targetState: {
        EditorInterface: {
          // A content type id where we will assign the app to the sidebar
          'my-content-type-id': {
              // assignment to sidebar in position 0 (will show up at the very top of the sidebar)
              sidebar: { position: 0 }
          }
        }
      },
    };
  }
}
Understanding the onConfigure function
If your application relies on custom configuration parameters, the passed function sdk.app.onConfigure is essential. It's called during every installation or update process and controls which data is persisted.
This function is called during the installation or update process and helps us save app-specific information.
The method can be async and it serves three main purposes:
- Define arbitrary user data in the
parametersobject that is useful to the app. - Define
targetStatewhich is Contentful's representation of where the app is rendered. - Block installation if the user hasn't provided enough information or your custom validation logic failed.
Parameters
parameters is a JSON object where you, the developer, can store any information with up to 16kB about your app that is specific to its installation in a space/environment. Some good use-cases are: user preferences, 3rd party strings and environment variables.
Usually parameters is NOT a good place to store API keys or secrets, as the information will be accessible to
all users. An exception may be public keys with read-only access that can not cause any harm. Most apps deal with authentication/authorization by using OAuth with 3rd parties and storing temporary credentials in the user session. Our open-source apps repository has more examples of how OAuth flows work.
targetState
The keys of the EditorInterface are the IDs of content types we want to configure for the app. In the code example above, my-content-type-id is the ID of a content type that will show the Daily Animal app in the sidebar at position 0, which means it will be the first thing you see. For more information on how the targetState works, please click here.
Blocking installation
Returning false, resolving with false or throwing an Error in onConfigure will block the installation or update from happening. It will be up to you, the developer, to implement any additional validation or error messaging upon blocking the installation.
App sidebar widget code
This React component is what is rendered in the sidebar itself. It reads the selected animal from the app parameters and uses Unsplash Source to embed a photo via an img tag.
function AnimalPicture({ sdk }) {
  const animal = sdk.parameters.installation.animal || DEFAULT_ANIMAL;
  const src = `https://source.unsplash.com/250x250/?${animal}`;

  return <img alt={animal} id="animal-picture" src={src} />;
}