Setting a default preview environment
The content preview feature enables space administrators to add default preview environments to spaces. This feature makes it possible to add a single or multiple environments, preview draft and published entries, and select which content types can be previewed.
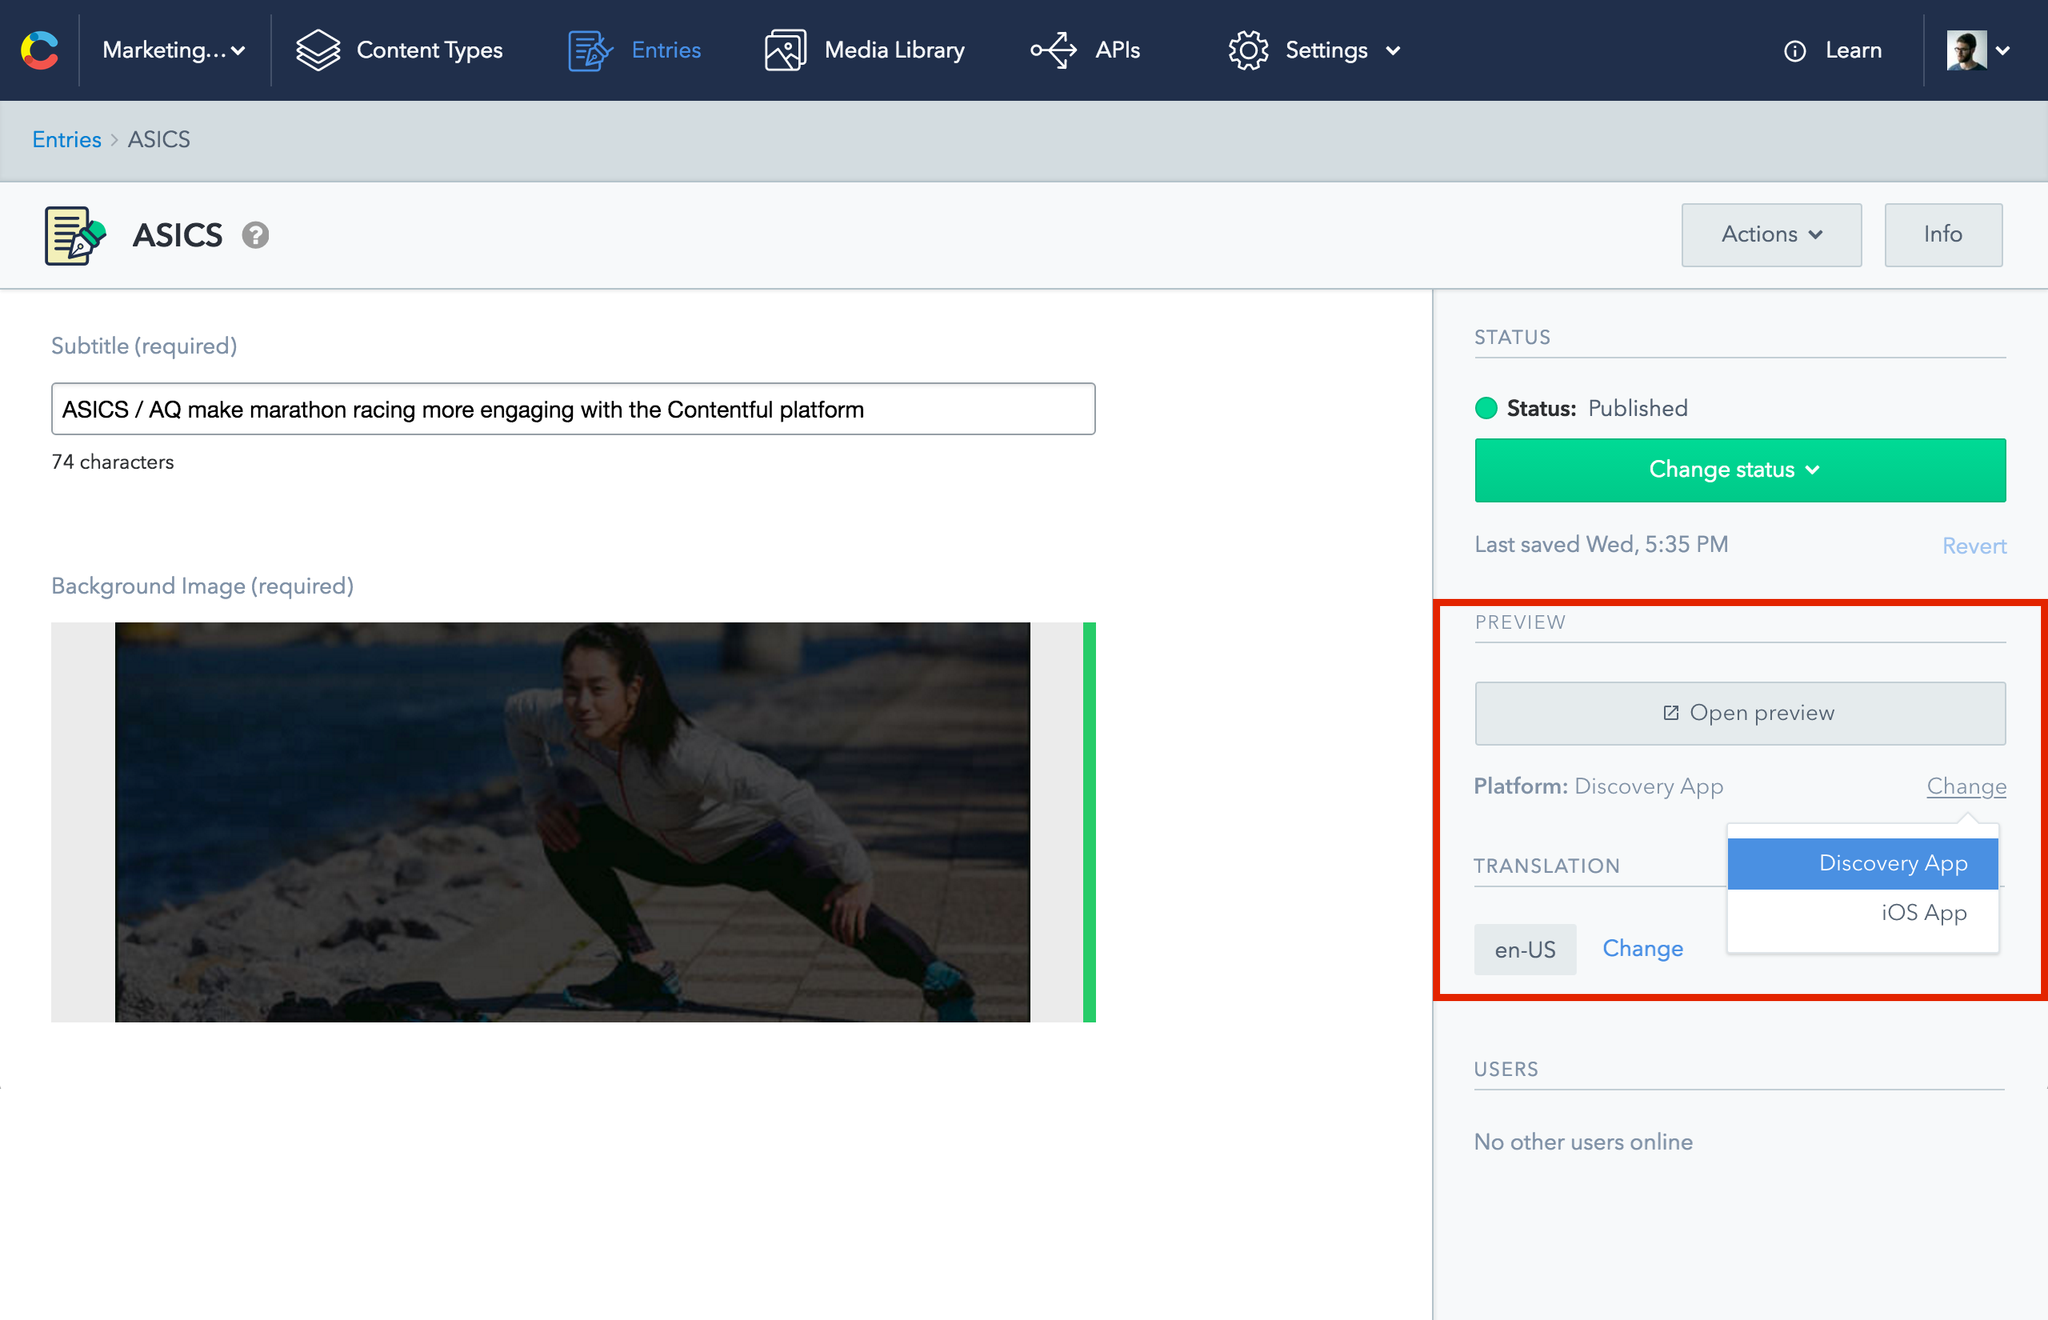
When the preview feature is configured, an entry can be previewed in one or multiple environments:
The guide explains three distinct approaches to set up content previews:
- Preview content in the Discovery app
- Preview content in the online environment
- Preview in a local environment
Preview content in the Discovery app
The simplest way to add a preview to a space is to select one of the default templates in the example space. This automatically configures the space to work with the Discovery web app, written in React.js framework.
Discovery app offers a generic way to preview content:
Preview content in the online environment
This scenario assumes that you have an online version of your website or an app, where the editors can preview the created entries before they go live. The Content Preview API (CPA) is used to retrieve the content in this environment.
To get started:
- Navigate to the Settings tab and click on the Content preview item.

- Click Add content preview button on the right pane and add a new environment by filling out the required fields.
The form for adding a preview automatically lists all the content types found in your space. However, it is important to know that spaces often contain content types with partial information - for example, opening hours or call-to-action messaging intended to be reused across multiple entries. Therefore, the preview must be enabled only for the content types that are designed to be public entries.
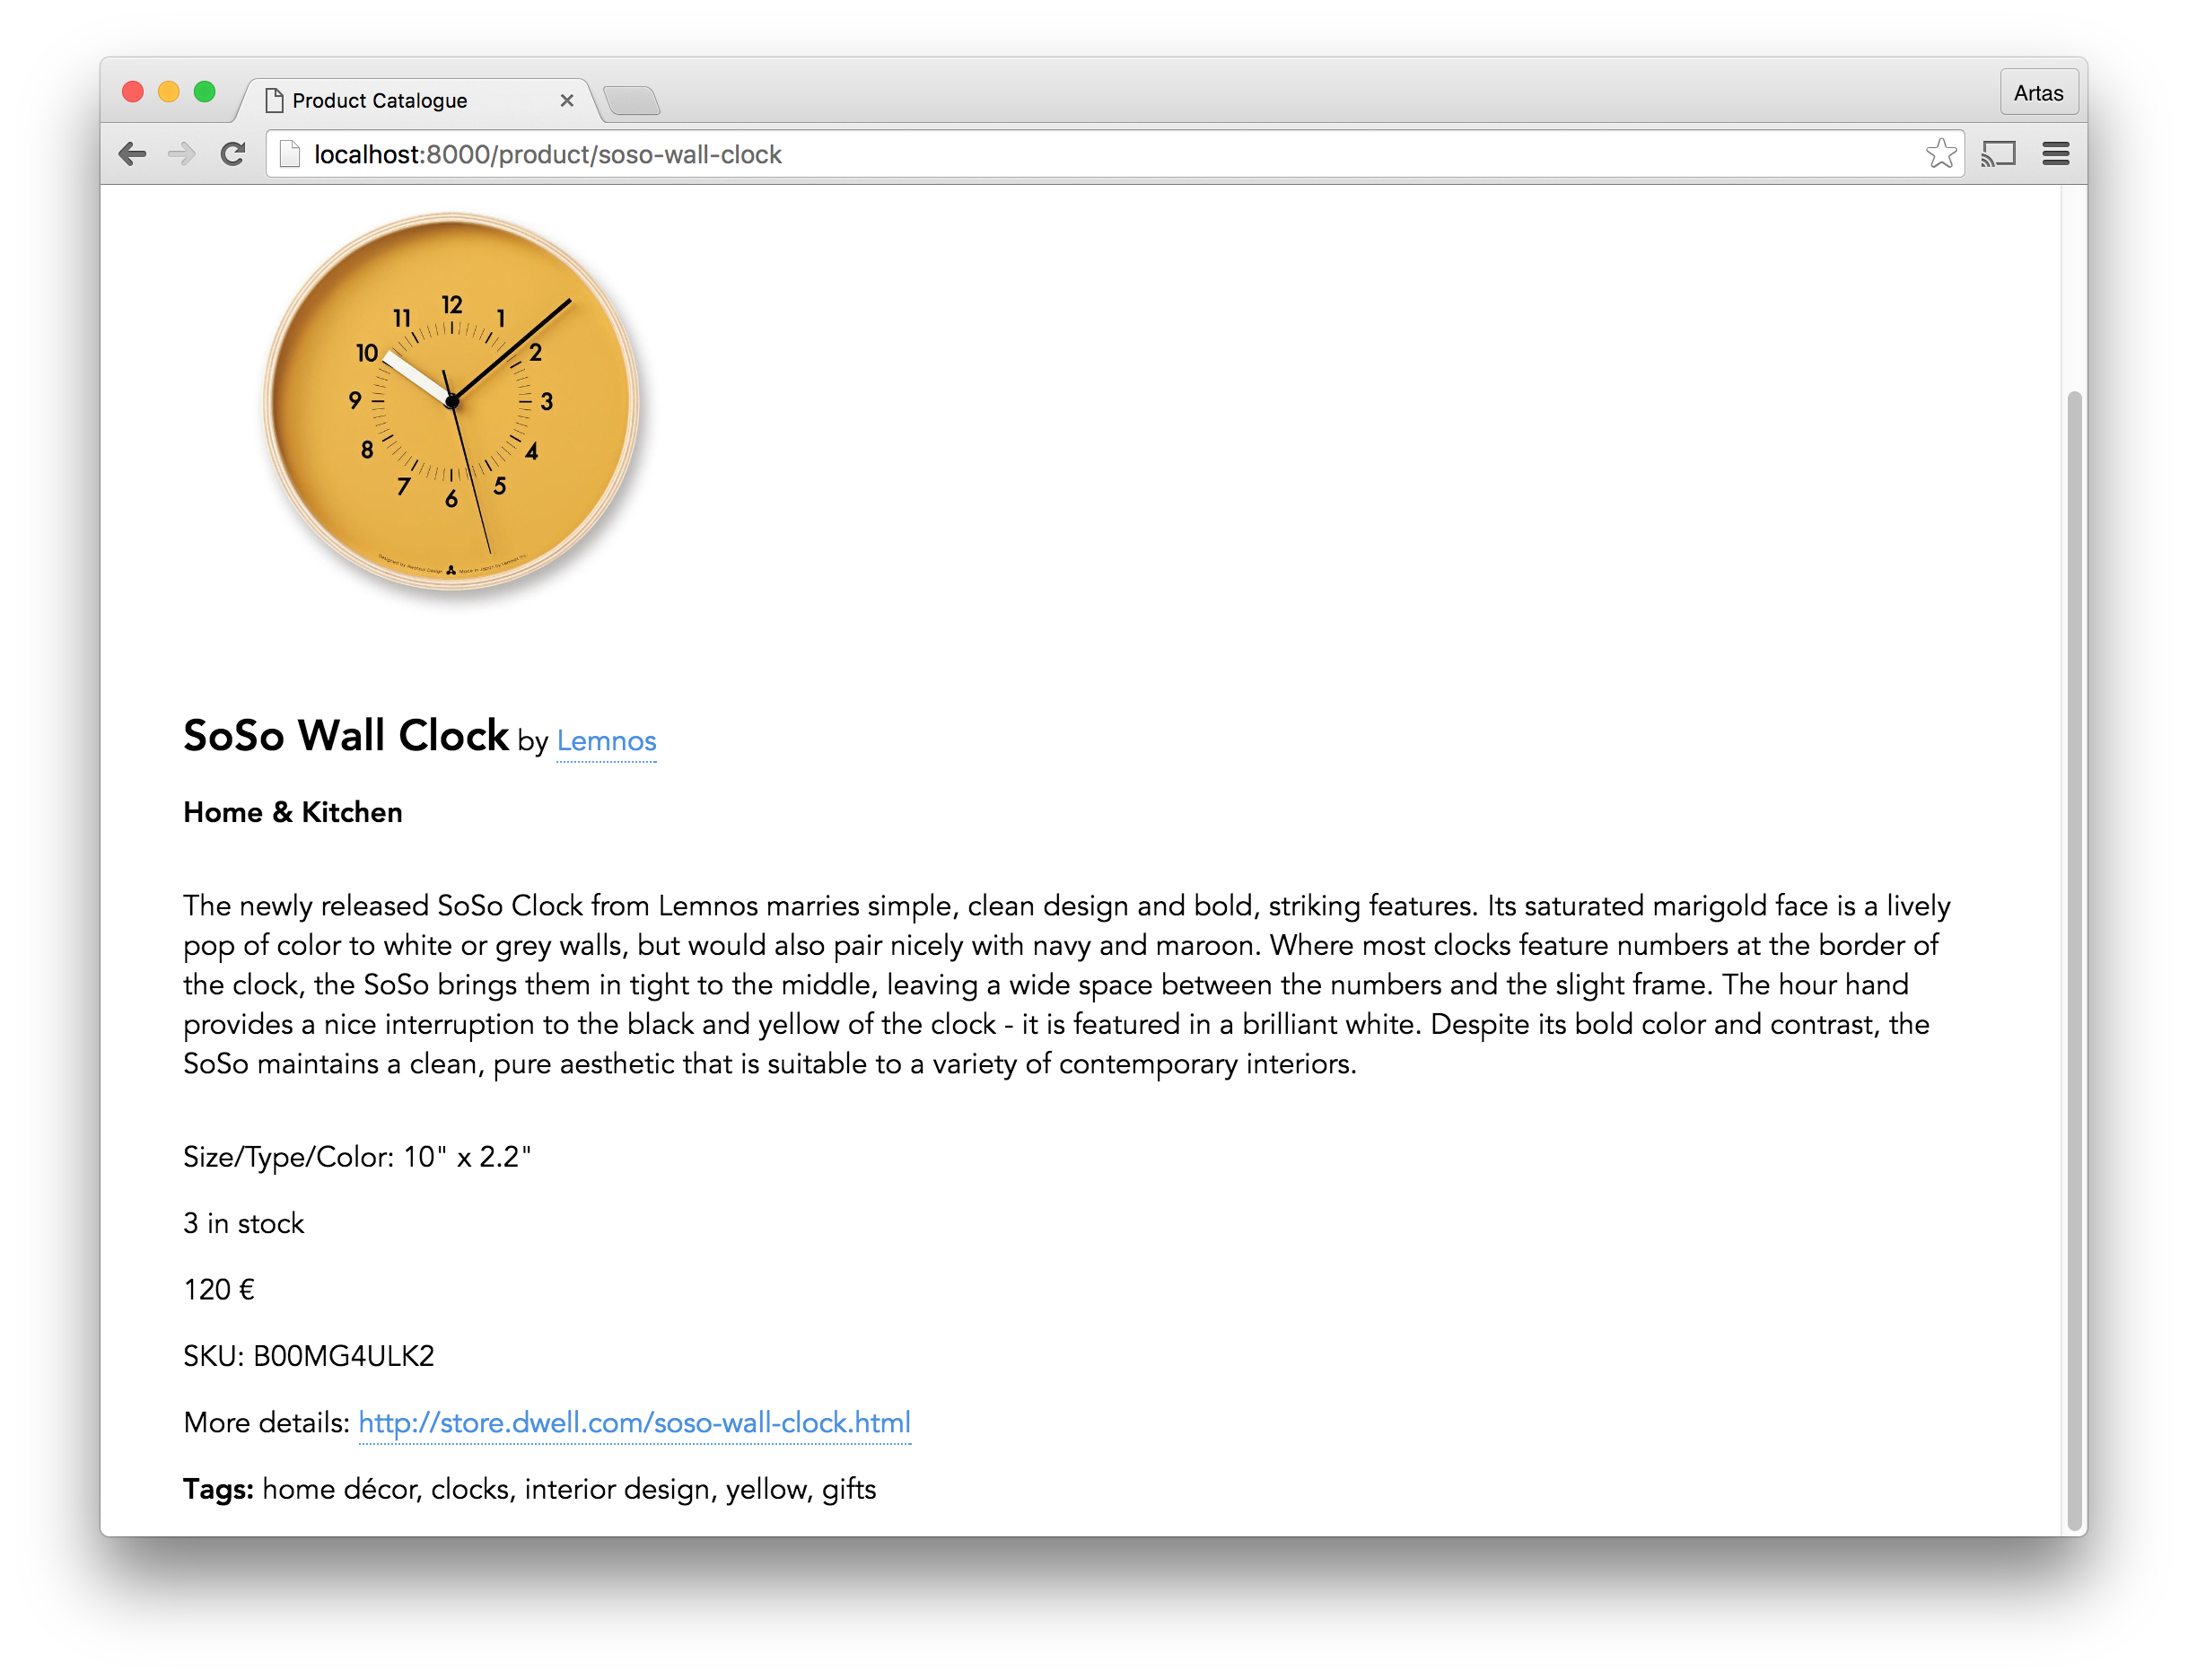
Typically, a preview URL consists of the base path (e.g. https://myapp.com/entities/) and placeholder tokens that are resolved into actual values when a user clicks on the preview link. The token can be a simple {entry.sys.id} that resolves to a 4BqrajvA8E6qwgkieoqmqO in the link or any of the entry fields. For example, {entry.fields.slug} would resolve into soso-wall-clock.
The type of a token you want to include in the preview URL depends on how your app templates are setup to work and the purpose of the preview environment. However, note that a specified field needs to exist within the space and be a string or an integer. It is recommended to use a validation for detecting unsafe characters (e.g. space, #, %, "") in the field, to avoid the broken links.
Important: for security reasons, you should never include an access token in the preview URL. Instead, implement the authentication process in your client app.
Preview in a local environment
Under this scenario, it is assumed that you want to preview content locally, while the public app is undergoing development. To illustrate this scenario, the product catalogue app is used. It is built in plain Javascript and available under Contentful Github repo, as the client app.
To get started,
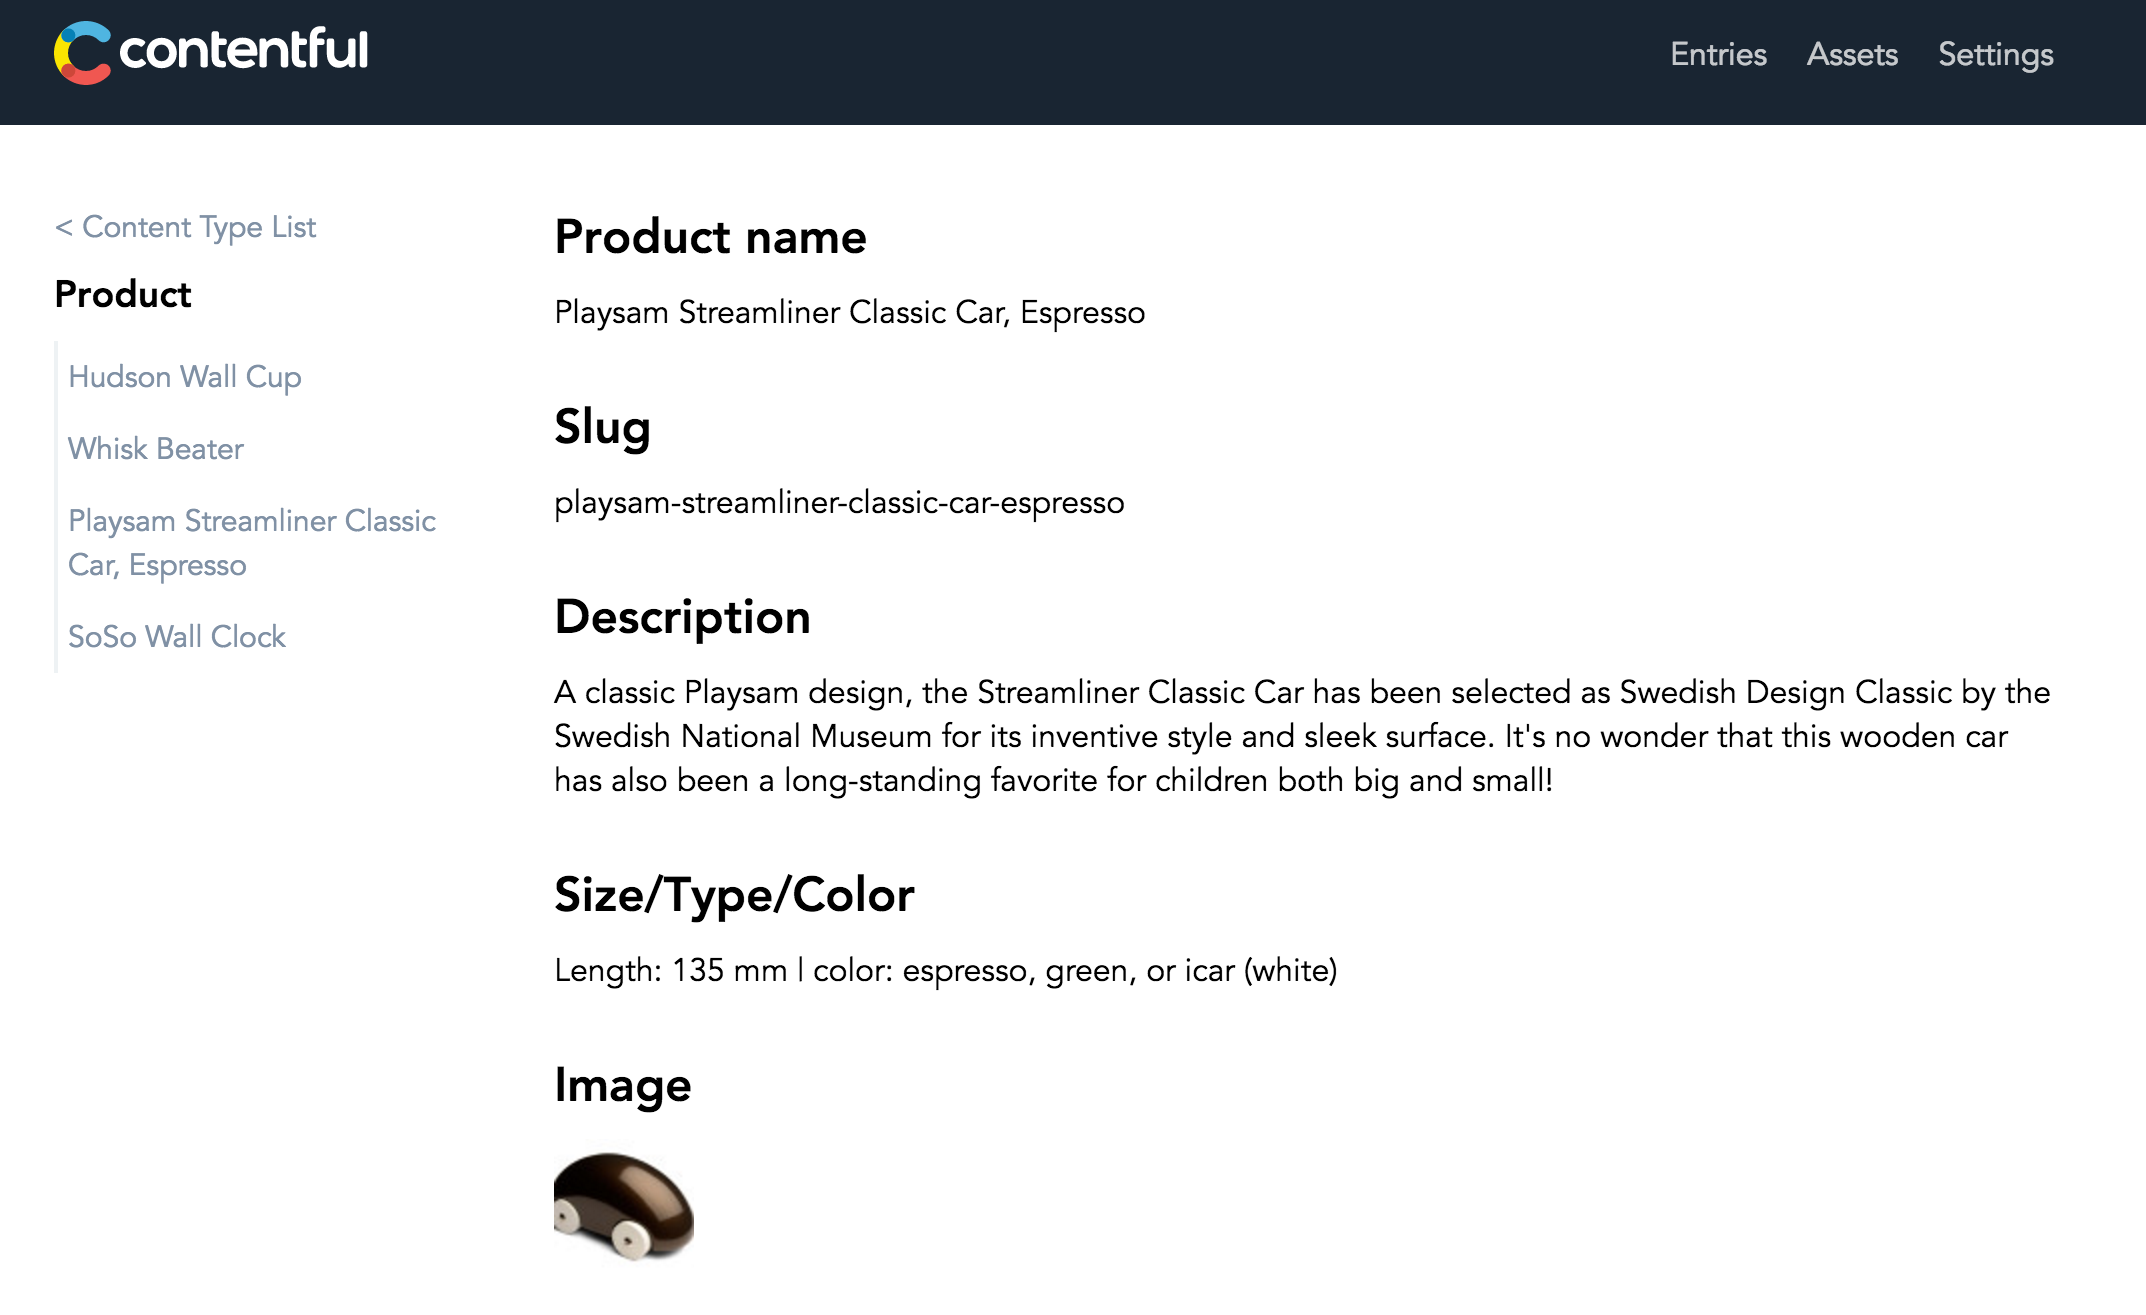
- Create a new space with the product catalogue template as the demo app expects the space to contain brand, category and product content types with specific fields.
It is also possible to manually set up these entry types within your existing space or alter the client code to work with the existing content model.
- Clone the
product-catalogue-jsrepo to your computer:
$ git clone https://github.com/contentful/product-catalogue-js.git- Open the
app.jsfile and replace the access token and space id with the credentials from your space:
PC.init = function () {
  // Initializes the Contentful client with the required credentials for a
  // product catalog space. Feel free to replace them with our own.
  PC.contentfulClient = contentful.createClient({
    accessToken: 'abcd1234abcd1234abcd1234abcd1234abcd1234abcd1234abcd1234abcd1234abc', // replace the access token
    space: 'klmno09876klmno' // replace the space ID
  })
Note You can set up the client app to use either delivery or preview access tokens. In the former case the preview shows only published entries, while in the latter you see the published and draft entries.
- Now start a local HTTP server. On the Mac OS X, navigate to the project folder and run (for more options, check the Readme file):
python server.pyOnce the local server is running, the app can be accessed via the link http://localhost:8000 in your browser.
Add the preview links to the space settings:
- Products -
http://localhost:8000/product/{entry.fields.slug} - Brands -
http://localhost:8000/brand/{entry.sys.id} - Category -
http://localhost:8000/category/{entry.sys.id}
- Products -
Save the preview settings and navigate to the entry. In the dropdown under the Preview button, you can see the link to the product catalogue app running locally.