Google Analytics
The Google Analytics App connects to your Google Analytics account to show page view reports.
Overview
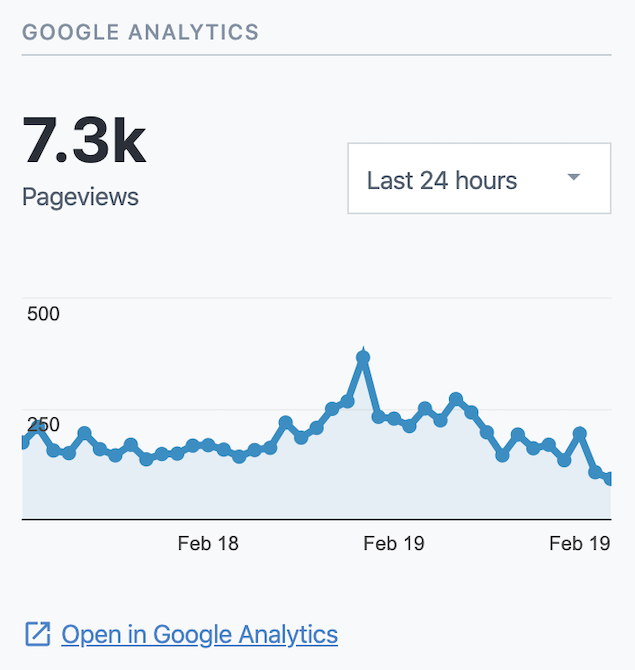
In the Contentful Web App, editors can see a graph of the page views for the URL corresponding to the current entry.
Requirements
To install this app, you will need:
- A Google developer account to create an OAuth client ID.
- A Contentful organization admin to install the Google Analytics app in Contentful.
- A Google account with access to the Google Analytics data for editors.
Under the hood
Internally, the app will:
- Authenticate with Google.
- Add a new sidebar widget in Contentful which embeds a graph of recent page views.
Usage
Step 1: Configure your Google developer project
Go to your Google Developer dasbhoard. If you don't have an existing project, then create one.
Enable the Google Analytics API in your project.
Step 2: Configure your Google OAuth consent screen
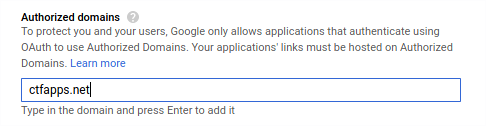
Navigate to OAuth consent screen. If there is no consent screen shown, then create a new one.
In the edit view of the consent screen, Enter ctfapps.net as an authorized domain and click "Save".
Step 3: Get a Google OAuth client ID
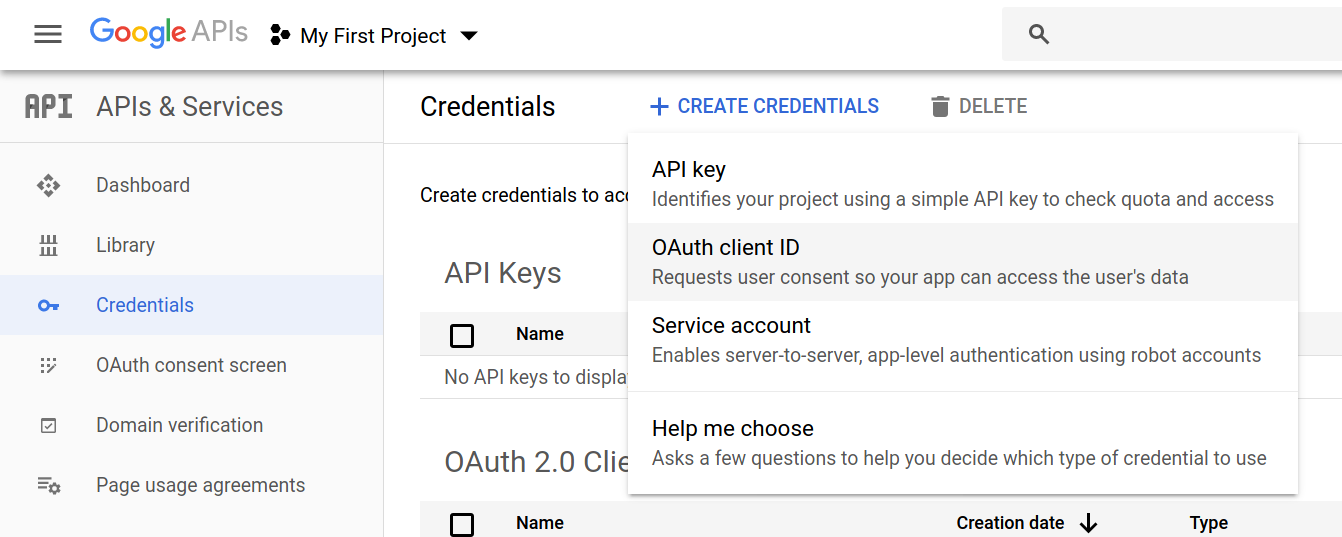
To install the app, you will need an OAuth client ID from a Google account that has at least read access to the Analytics view you want to query. You can create one from your Google developer console with the following steps:
- In the credentials page, click on "CREATE CREDENTIALS" and select "OAuth Client".
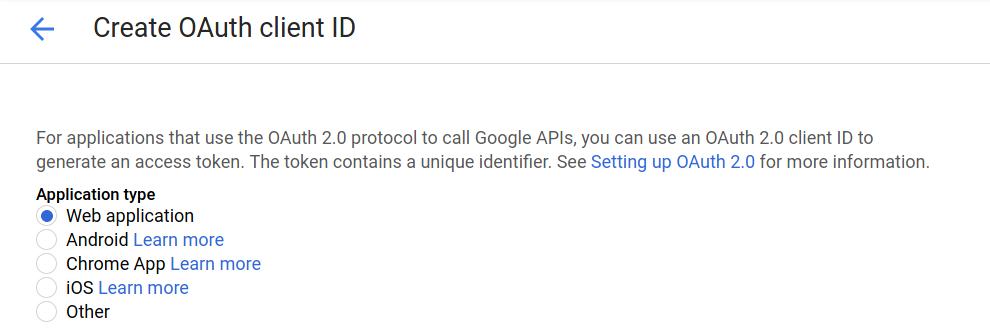
- On the following page, select "Web application" as the application type.
- In the "Authorized JavaScript origins" field, enter
https://google-analytics.ctfapps.net. - Click "Create."
Copy your OAuth Client ID and open the install page of the Google Analytics App. Paste the copied text into the Client ID field of the configuration section. The app will use this OAuth Client ID to allow editors to sign in to their Google accounts to view analytics data in the app.
Step 4: Choose a view
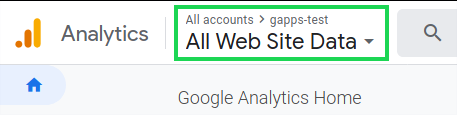
In the "View ID" field of the app's configuration, enter the ID of a Google Analytics View that's set up for your website. You can find this ID in the header of Google Analytics.

Step 5: Pick your content types
In the "Assign to content types" section, add the content types that are associated with tracked pages. The content type must have a field of type "Short text," which will contain the slug of the URL of the page that the content type is displayed in.
You also have the option to set a prefix for the slug. The app will get page views
for prefix + slug value. For example, if your entry has a slug with the
value about-us and you set the prefix to articles/, then the app will get
page views for articles/about-us.
Step 6: Install
Once you've set your OAuth client and view IDs, and added your content types, you can install the app to your organisation. You should now see a graph of recent page views in the sidebar of the added content types.
Troubleshooting
App doesn't load
If the app doesn't load correctly, consider temporarily disabling any
content blockers in your browser. Also ensure that you've added
https://google-analytics.ctfapps.net as an authorized origin your OAuth
credential settings and consent screen (See steps two and three).
Couldn't load your page view data
If you get the error (User does not have sufficient permissions for this
profile.), check that you set the correct view ID in the app's configuration.
You may might also need to
sign in
to a different Google account which has permission to view reports of the
configured view.